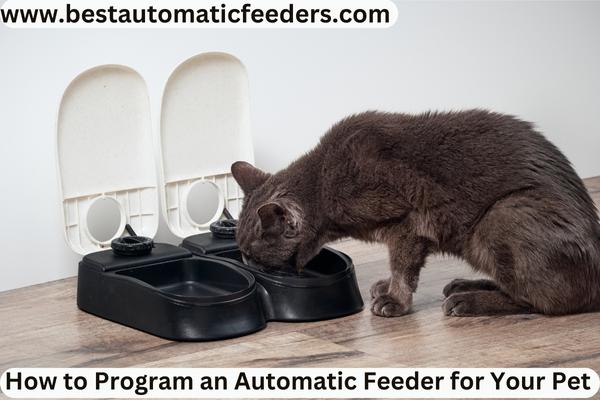
An automatic feeder is a valuable tool for pet owners who want to ensure their furry friends are fed on time, even when they’re away from home. These convenient devices allow you to schedule and control your pet’s feeding times,
helping you maintain a consistent and healthy feeding routine. We will provide a step-by-step guide on how to program an automatic feeder, ensuring your pet receives their meals reliably and on schedule.
1. Understand Your Automatic Feeder:
Before programming your automatic feeder, it’s essential to familiarize yourself with its specific features and functions. Read the user manual provided by the manufacturer to understand the buttons, display screen,
and any additional settings or modes your feeder may have. This will help you navigate the programming process more effectively.
2. Set the Clock and Time Format:
Begin by setting the correct time on your automatic feeder. Most feeders have a clock function that allows you to input the current time. Follow the instructions provided in the user manual to adjust the time format (e.g., 12-hour or 24-hour), if applicable.
3. Determine Feeding Schedule:
Decide on the feeding schedule that best suits your pet’s needs. Consider their age, size, and dietary requirements. Most automatic feeders offer options for multiple meals per day,
allowing you to divide your pet’s daily intake into smaller portions. Determine the number of meals and the specific times you want to program into the feeder.
4. Portion Control and Meal Size:
Some automatic feeders allow you to set portion sizes for each meal. Consider your pet’s dietary needs and consult with your veterinarian if necessary to determine appropriate portion sizes.
Adjust the feeder’s settings to dispense the desired amount of food per meal, taking into account your pet’s age, weight, and activity level.
5. Programming the Feeding Times:
Follow the instructions in the user manual to program the feeding times. Typically, you will need to select the desired mealtime, input the hour and minute, and save the settings. Repeat this process for each programmed mealtime.
Some feeders may also offer additional options, such as a “slow feed” mode that dispenses food gradually over a specific duration to prevent overeating.
6. Test the Feeder:
After programming the feeding schedule, it’s crucial to test the feeder to ensure it dispenses the correct amount of food at the designated times. Place a small container under the feeder’s dispensing mechanism and simulate the scheduled mealtime. Observe if the feeder dispenses the desired portion accurately and without any issues.
7. Power Source and Backup:
Ensure your automatic feeder is connected to a reliable power source. Some feeders require batteries, while others can be plugged into an electrical outlet.
Consider using a feeder with a battery backup feature to prevent feeding disruptions in case of a power outage.
8. Maintenance and Cleaning:
Regularly clean and maintain your automatic feeder to ensure proper functionality and hygiene. Refer to the user manual for specific cleaning instructions.
It’s essential to remove any food debris or residue from the dispenser and hopper to prevent blockages and contamination.
9. Monitor and Adjust:
Monitor your pet’s eating habits and weight to ensure the programmed feeding schedule and portion sizes are appropriate. If necessary, make adjustments to the programming based on your pet’s needs and consult with your veterinarian for guidance.
10. Troubleshooting:
In some instances, you may encounter issues with your automatic feeder. Here are a few common troubleshooting tips:
Check the power source: Ensure the feeder is correctly connected to the power source or that the batteries are not depleted.
a. Clean the dispenser:
If the food is not dispensed correctly, there may be blockages or debris in the dispenser. Clean it thoroughly and ensure it moves freely.
b. Reset the feeder:
If the programming seems to be malfunctioning, try resetting the feeder to its default settings and reprogramming it from scratch.
c. Contact customer support:
If you are unable to resolve the issue on your own, reach out to the manufacturer’s customer support for assistance.
11. Gradual Transition:
When introducing an automatic feeder to your pet, it’s important to make a gradual transition. Start by placing the feeder near their regular feeding area and gradually move it to the desired location.
Allow your pet to get familiar with the feeder and associate it with positive experiences, such as receiving treats or rewards from it.
12. Consider Additional Features:
Automatic feeders may come with additional features that can enhance your pet’s feeding experience. Some models offer voice recording capabilities, allowing you to record a message that plays during feeding times.
This can help your pet associate the feeder with your voice and feel more comfortable. Other feeders may have built-in cameras, enabling you to monitor your pet’s meals remotely.
Conclusion:
Programming an automatic feeder for your pet is a straightforward process that requires understanding your feeder’s features, setting the clock, determining the feeding schedule, portion control, programming the feeding times, testing the dispenser, ensuring a reliable power source, and maintaining cleanliness.
By following this step-by-step guide, you can confidently program your automatic feeder to provide your pet with consistent and appropriate meals, even when you’re not at home. Enjoy the convenience and peace of mind knowing that your beloved pet is well-fed and cared for, adhering to a healthy feeding routine.

